Creating a Feature Flag
Start by setting up a FlagSync project (try the 14-day free trial, no credit card needed), then create a flag via the Flags dashboard.Flag Configuration
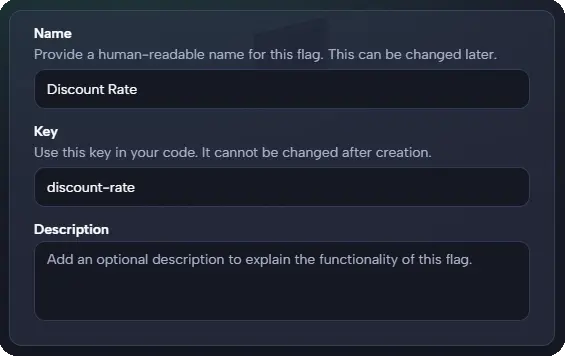
Set It Up
- Name: A human-readable label (e.g., “Signup CTA”)—editable later.
- Key: A unique identifier (e.g.,
signup-cta) for code use. - Description: Optional summary of the flag’s purpose.
Select Type
Boolean
On/off switches
Perfect for:
Enable/disable features
Beta feature toggles
String
Predefined options
Common uses:
Theme: light-mode, dark-mode
CTA: Register, Join Now
Number
Numeric values
Common uses:
Rate limits: 1000, 5000, 10000
Image quality: 75, 80, 100
JSON
Complex objects
Common uses:
{ "layout": "grid", "maxItems": 8 }

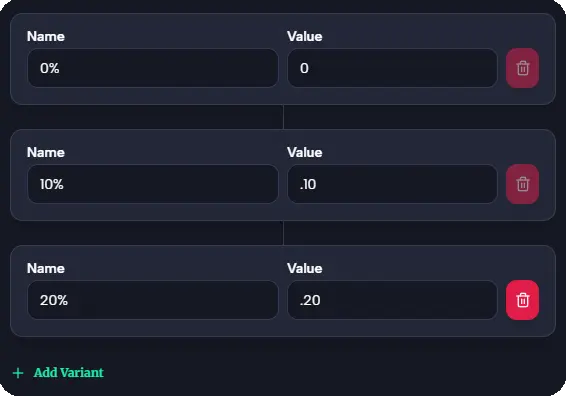
Choose Default Variants
Set defaults for 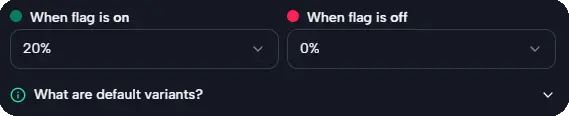
discount-rate:- Enabled:
0.20(20% discount). - Disabled:
0.00(no discount).
Activate It
- Toggle the flag on or off to control its rollout.
- Integrate with code via Quickstart: Integrate the SDK.
Next Steps
- Configure targeting in Targeting and Rollouts.
- Run experiments in Quickstart: Create an Experiment.